You film something that looks genuinely great. You check it in your gallery, zoom in, and it's sharp. Then you post it to Instagram, Facebook, TikTok or WhatsApp, and it comes back looking like it was shot through a foggy window. Most people's first instinct is to blame the camera. In seven years of shooting and editing professionally, I can tell you the camera is almost never the problem — it's what happens to your file between "exported" and "uploaded."
This guide walks through exactly why that happens and the specific settings, in Premiere Pro, DaVinci Resolve, Final Cut Pro, CapCut and VN, that stop it.
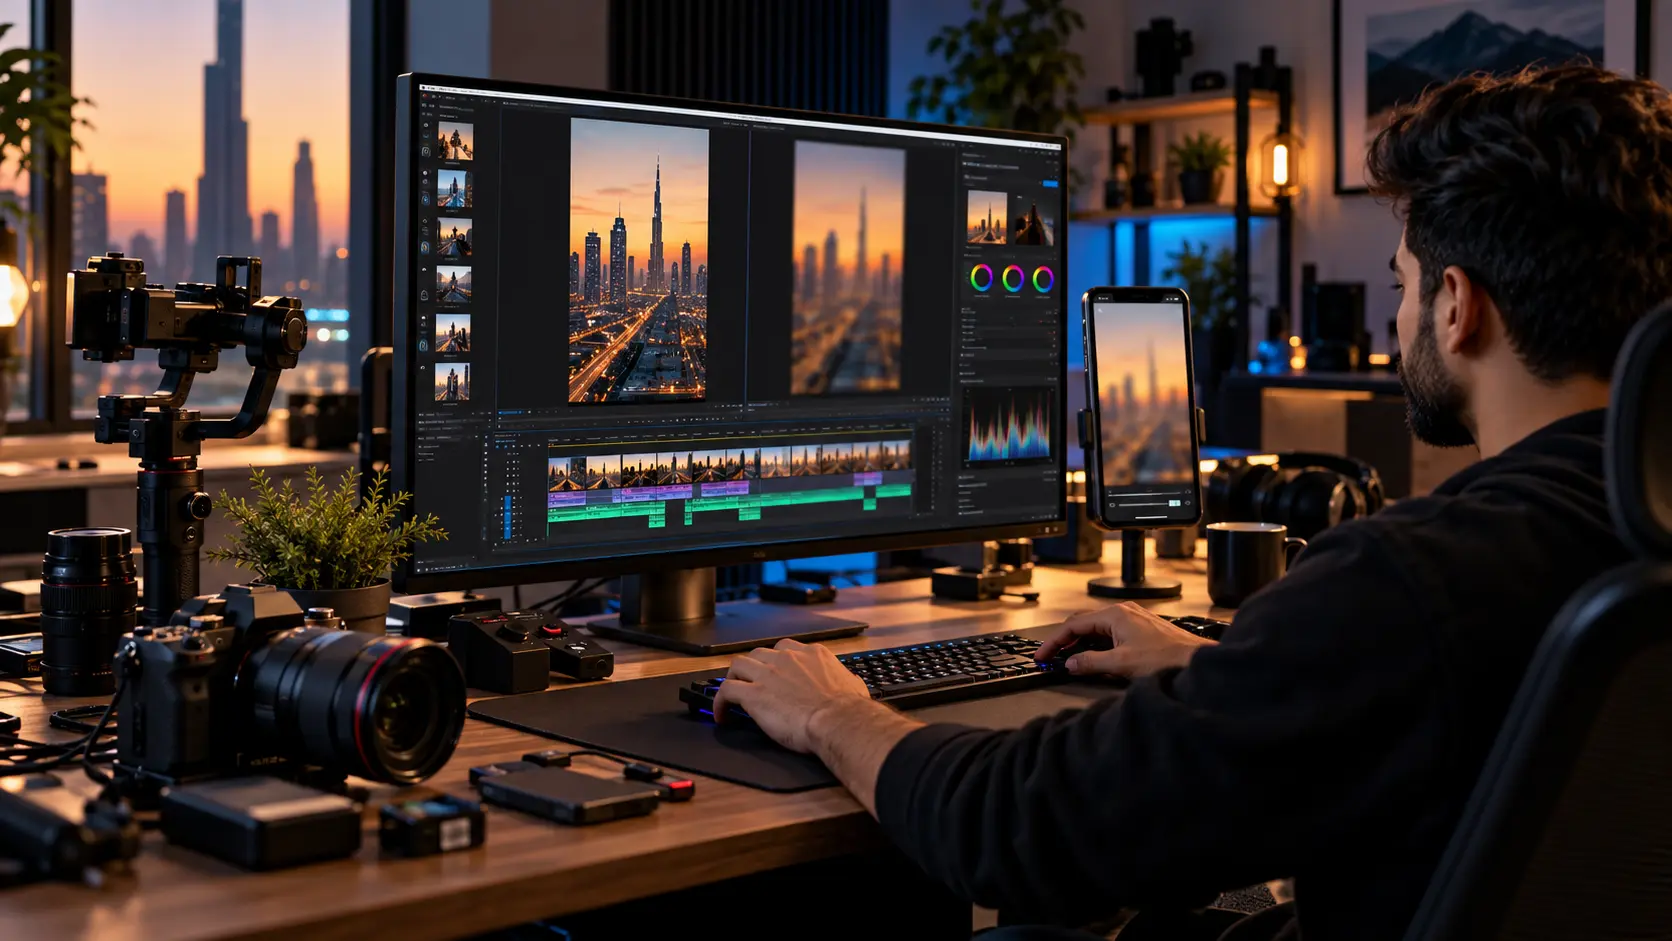
Grading on the desktop tells you nothing until you check how the export actually looks on a phone.
What's In This Guide
- Why Videos Become Blurry After Upload
- Mistake #1: Not Shooting in 4K
- Mistake #2: Wrong Export Settings
- Mistake #3: Exporting Multiple Times
- Mistake #4: Instagram's Own Settings
- Mistake #5: Uploading Downloaded Copies
- Mistake #6: Not Waiting for Processing
- Export Settings by Software
- Camera Settings That Help
- Internet Upload Tips
- Advanced Tips Professionals Use
- Common Myths
- Frequently Asked Questions
Why Videos Become Blurry After Upload
Every platform you upload to — Instagram, TikTok, Facebook, YouTube, WhatsApp — re-encodes your video into its own format before anyone sees it. This is compression, and it's not optional. It happens whether your footage was perfect or not, because platforms need videos to stream instantly on every device and connection speed, not just look good on yours.
Compression causes visible quality loss in a few specific ways:
Bitrate Reduction
The platform re-encodes at a lower bitrate than you exported, discarding detail. See our bitrate guide.
Resolution Scaling
An export that doesn't match the platform's expected dimensions gets scaled, and scaling always softens edges.
Codec Changes
Your file may be transcoded for delivery — another compression pass. See our codecs guide.
Platform Optimization
Instagram optimizes for fast mobile delivery over quality, which is why Reels often look more compressed than the same footage on YouTube.
Here's the part that matters most: compression can only work with what you give it. A high-detail, high-bitrate source file survives a compression pass looking clean. A soft, low-bitrate, already-recompressed file has nothing left to lose, and it shows.
Mistake #1 — Not Shooting in 4K
If your final video plays at 1080p, why would 4K matter? Because a 1080p export downscaled from 4K footage packs in more real detail per pixel than footage recorded natively at 1080p. Extra resolution also gives you room to stabilize shaky footage, crop in for reframing, and sharpen during editing without visibly degrading the image — none of which you can do with 1080p source footage that's already at its final size.
| 1080p Recording | 4K Recording (exported to 1080p) | |
|---|---|---|
| Detail retained after compression | Lower — no extra data to lose | Higher — downscaling effectively sharpens |
| Room to crop or reframe | None without visible quality loss | Significant, especially for vertical reframing |
| Stabilization headroom | Limited | Comfortable, since stabilizing crops the frame |
| File size & storage | Smaller | 2-4x larger, depending on codec |
| Editing performance | Faster on modest hardware | May need proxies on older machines |
If your camera or phone shoots 4K, use it, even for content that will only ever be posted at 1080p. The one exception is if your device's 4K mode significantly limits frame rate or stabilization compared to its 1080p mode — check your specs before assuming more resolution always wins.
Mistake #2 — Wrong Export Settings
This is the single biggest fixable cause of blurry uploads. Most editing apps default to settings tuned for small file size, not for surviving a second round of platform compression. Here's the export recipe professional editors actually use for Instagram, TikTok and Facebook:
| Setting | Recommended |
|---|---|
| Resolution | 1080 × 1920 (vertical, 9:16) |
| Codec | H.264 |
| Profile | High |
| Level | 4.2 |
| Bitrate | 16–25 Mbps (VBR) |
| Frame Rate | 30 or 60 FPS — match your source footage |
| Render at Maximum Depth | ON |
| Use Maximum Render Quality | ON |
| Audio Codec | AAC |
| Audio Bitrate | 320 kbps |
A quick word on why each of these matters:
- 1080×1920: matches the exact frame Reels, TikTok and Stories display, so nothing gets scaled or cropped unexpectedly.
- H.264 High Profile, Level 4.2: the most universally compatible professional codec setting — every platform decodes it cleanly.
- 16–25 Mbps: deliberately higher than the platform's own delivery bitrate, since your file gets compressed again after upload. Starting higher gives that second pass more to work with.
- Match frame rate to source: exporting 30fps footage at 60fps doesn't create real motion data — it can introduce stutter instead of smoothness.
- Maximum Render Quality / Maximum Depth: tells your editor to use its best internal math when resizing or color-processing, instead of a faster, lower-quality shortcut.
- AAC 320 kbps: keeps audio clean through re-compression — low audio bitrate is often more noticeable to viewers than low video bitrate.
Mistake #3 — Exporting Multiple Times
This is the mistake I see most often, and it's almost invisible until you know to look for it. Every time a compressed video file is decoded and re-encoded, the new encoder is working from data that already lost detail in the previous pass — and it throws away more. This is called generation loss, and it stacks with every hop.
✅ Camera → Premiere Pro → Instagram (1 compression pass, plus Instagram's own)
Every extra app in that chain — especially messaging apps like WhatsApp, which compress aggressively by design — is another generation of loss. Pick one editor, finish your edit there, and export once, straight to the platform you're posting on.
Mistake #4 — Instagram's Own Settings
Instagram has a setting that quietly limits upload quality on purpose, to save data for people on limited plans. It's under Settings and Privacy → Media Quality → Upload at Highest Quality. On many accounts, this is switched off by default when you're on cellular data, which means you could be uploading a deliberately reduced version of your export without realizing it.
- Battery Saver / Low Power Mode: can restrict background network activity, sometimes interrupting or throttling an upload mid-transfer.
- Poor internet connection: a weak signal during upload can cause the app to fall back to a smaller, faster-to-send version of your file rather than the full-quality export.
Check this setting once, on Wi-Fi, and you've removed a variable that has nothing to do with your camera or your edit.
Mistake #5 — Uploading Downloaded Versions
If you download a reel from TikTok, save a video someone sent you on WhatsApp, or grab a Facebook video to repost on Instagram, you're uploading a file that has already been through at least one platform's compression — often WhatsApp's, which is particularly aggressive. Re-uploading that copy adds a second full compression pass on top of the first.
Always keep your original exported file and upload that same source file to every platform separately, rather than downloading a version back off one platform to post on another.
Mistake #6 — Not Waiting for Processing
Instagram, TikTok and YouTube all publish a fast, lower-quality preview version of your video the moment it finishes uploading, while the platform processes the full-quality version in the background. If you check your reel in the first minute and it looks soft, that's often the preview, not the final result.
Give it a few minutes, then check again. This doesn't fix a genuinely bad export, but it does explain a specific, common complaint: "it looked worse right after posting than it does now."
Best Export Settings for Different Editing Software
The recipe in Mistake #2 holds across all of these — the differences below are where to find the equivalent settings in each tool.
Adobe Premiere Pro
Export via File → Export → Media, format H.264, match source resolution, then open the Video tab and set Bitrate Encoding to VBR, 2 Pass, with a target bitrate of 16–20 Mbps and a maximum of 25 Mbps. Enable Render at Maximum Depth and Use Maximum Render Quality in the same export panel. See Adobe's official H.264/HEVC export documentation.
DaVinci Resolve
In the Deliver page, use a custom preset: MP4, H.264, Quality set to "Restrict to" with a bitrate of 16–25 Mbps. Manual bitrate beats the automatic presets for social delivery. See Blackmagic Design's Resolve training.
Final Cut Pro
Use Share → Master File instead of a "social" preset, so you control resolution and codec directly. Export H.264 at source resolution, then re-compress with Compressor if you need precise bitrate control. See Apple's Final Cut Pro guide.
CapCut Desktop & Mobile
On desktop, set Resolution to 1080p and manually raise Bitrate to "High" or a custom high-teens-to-20s Mbps value, rather than the default "Recommended" setting. On mobile, tap the export resolution and bitrate options before the final export button — both are adjustable but easy to miss — and export to your camera roll rather than using CapCut's built-in "Post to Instagram" shortcut, which adds its own compression.
VN Editor
Select 1080p, match your source frame rate, and pick the highest bitrate tier on the export screen rather than the default middle setting.
Camera Settings That Help
A great export can't fix footage that was soft or noisy at the point of capture. A few habits at the camera stage make every later step easier:
- Shoot in Log when appropriate — more room to correct color, but only worth it if you're actually grading. See our exposure triangle guide.
- Correct exposure — recovering a badly exposed shot in editing adds noise and banding that compression makes worse.
- Proper shutter speed — the 180-degree rule avoids motion that looks choppy or smeared. See our frame rate guide.
- Low ISO — high-ISO noise is hard for a compressor to handle cleanly and often turns into blocky artifacts.
- Good lighting — the single biggest factor in how clean footage looks before it reaches an encoder.
- Manual white balance — prevents color shifting mid-shot, which can look like a compression artifact.
- Sharp lenses, correct focus — no export setting restores detail that was never captured in focus.
Internet Upload Tips
- Use Wi-Fi whenever it's available, rather than mobile data, for both speed and stability.
- Don't upload on a weak signal — a shaky connection can cause the app to fall back to a smaller file to finish faster.
- Avoid uploading over a VPN, which can add latency and packet loss that interrupts a smooth upload.
- Wait for the upload to fully complete before closing the app or locking your phone — an interrupted upload sometimes resumes from a cached, lower-quality copy.
Advanced Tips Professionals Use
Export Once
Finish editing, grading and captions in one project, rather than exporting a rough cut and re-importing it for another pass.
Avoid Over-Sharpening
Extra sharpening exaggerates compression artifacts instead of hiding them. Apply it lightly on footage headed for heavy platform compression.
Noise Reduction
Clean footage compresses more efficiently than grainy footage, since the encoder isn't wasting data preserving random noise.
Color Space
Export in standard Rec.709 unless you know the platform supports your working space; mismatches cause washed-out or oversaturated results.
HDR vs SDR
SDR is the safer default today. HDR support varies by app and device, and a poorly-handled HDR upload can look worse than clean SDR.
VBR vs CBR
Use VBR for uploads and exports — it allocates data more efficiently than CBR, which is really built for live streaming.
Hardware vs Software Encoding
Software (CPU) encoding is generally higher quality per bit than hardware (GPU), though slower. Worth it for a final export you only do once.
High Bitrate Exports
When in doubt, export higher than the recipe above, not lower — platforms compress down and never add detail back in.
Common Myths
Frequently Asked Questions
Why are my Instagram reels blurry?
Almost always because of low export bitrate, exporting through multiple apps before the final upload, or Instagram's own Data Saver setting. Instagram compresses every upload, so a file that's already soft or low-bitrate has nothing left to survive that compression with.
Does Instagram reduce video quality?
Yes. Instagram re-encodes every video you upload into its own delivery format and bitrate range, the same way YouTube, TikTok and Facebook do. You can't stop this, but you can control how much detail your file has going in, which determines how it looks coming out.
Should I export in 4K for Instagram Reels?
Reels ultimately display at 1080x1920, so exporting in 4K won't make the final file 4K on-screen. But shooting in 4K and exporting down to 1080p gives the encoder more real detail to work with, which produces a visibly sharper 1080p file than footage shot natively at 1080p.
What is the best bitrate for Instagram video export?
For a 1080x1920 H.264 export, 16-25 Mbps is a safe professional range. This is higher than Instagram's own delivery bitrate on purpose, since the platform compresses your upload again and a higher-bitrate source survives that second compression pass with less visible damage.
Should I upload videos on Wi-Fi or mobile data?
Wi-Fi, whenever it's available. A weak or unstable connection during upload can cause the platform to accept a lower-quality version of your file, and interrupted uploads sometimes have to restart from a compressed cache rather than your original export.
Why is my reel blurry only after posting, not in my gallery?
Because the file in your gallery hasn't been compressed yet. The blur appears specifically at the compression step — during export from your editing app, or during Instagram's own upload processing — not from anything wrong with the original recording.
Does WhatsApp reduce video quality?
Yes, aggressively. WhatsApp compresses video heavily to keep file sizes small for fast delivery over any connection. If you send a video through WhatsApp and then re-upload that downloaded copy to Instagram, you're uploading a video that has already been compressed once, on top of whatever compression Instagram adds next.
Does TikTok compress videos?
Yes, TikTok compresses every upload the same way Instagram and YouTube do. This is why downloading a video from TikTok and re-uploading it to Instagram (or the reverse) almost always looks noticeably worse than uploading your original export to both platforms separately.
Why does exporting the same video multiple times make it worse?
This is called generation loss. Every time a compressed video is decoded and re-encoded, the encoder is working from data that has already lost some detail, and it discards more each time. A file that passes through CapCut, then VN, then WhatsApp, then Instagram has been compressed four times before a viewer ever sees it.
What does "Upload at Highest Quality" do on Instagram?
It's a setting in Instagram's app (Settings and Privacy > Media Quality) that tells the app not to reduce your upload quality to save mobile data. It's normally off by default on cellular connections, so creators who never check it are uploading a lower-quality version without realizing it.
Does battery saver mode affect video upload quality?
Indirectly, yes. Battery saver and low-power modes can restrict background app activity and network usage, which can interrupt or throttle an upload in progress, sometimes forcing the app to fall back to a lower-quality version of the file to finish faster.
Why does my video look fine right after uploading but sharper a few minutes later?
Instagram, TikTok and YouTube all show a fast, lower-quality preview immediately after upload while the platform finishes processing your file in the background. The final, higher-quality version typically replaces it within a few minutes, so a reel can genuinely look sharper if you check it again later.
Does 60fps always look better than 30fps on Instagram?
No. 60fps looks smoother for motion, but only if your source footage was actually shot at 60fps. Converting 30fps footage to 60fps on export doesn't add real motion information, and mismatching your export frame rate to your source frame rate can introduce stutter rather than fix it.
Is my camera the reason my videos look blurry online?
Rarely. Most "blurry camera" complaints trace back to export settings, multiple re-compressions, or an app-side quality setting, not the camera or phone itself. If footage looks sharp in your gallery immediately after recording, the camera isn't the problem.
Final Thoughts
Six things quietly turn sharp footage into blurry reels: skipping 4K when it's available, exporting with the wrong settings, passing a file through too many apps, an Instagram setting you never checked, re-uploading a downloaded copy, and judging quality before the platform finishes processing. None of them require new gear — they're all workflow.
Before spending money on a new phone or camera because your videos "look blurry," fix the pipeline between your export and the platform first. It's the cheaper fix, and in almost every case, it's the actual problem.
Need Professional-Quality Video for Your Brand?
AK Studios helps businesses create cinematic content that holds up on every platform — shot, graded and exported to survive real-world compression, not just look good on a monitor.
Contact Us